
Good Afternoon Everyone
I'm taking part in another Crafty Collaborations blog hop today and this one is the monthly Crafty Challenge and we have a Colour Challenge. As you know, I love a good Colour Challenge and I had real fun with this one.
I looked at my stash, but nothing really jumped out at me. I was flicking through my DSP and when I came to the Abstract Beauty DSP. I love that design, so I decided to create something similar with a twist using the Hello Beautiful stamp set and this combination. Now, I'll be honest when I started stamping, It took me a while get it to a point where it didn't look like a huge mess, but eventually it all came together and I'm actually really happy with how it turned out.


Measurements
Highland Heather Card Stock
1pc - 4 1/8" x 11 3/4", scored at 5 7/8"
Basic White Card Stock
2pc - 5 5/8" x 3 7/8"
Scraps
Coastal Cabana Card Stock
Scrap
Flirty Flamingo Card Stock
Scrap
----------------------
Take your Highland Heather Card Stock and fold along the score line to create your card base. Add one of the Basic White pieces to the inside.
On the remaining piece, create your masterpiece! I took several on the solid images and covered the white space using the three colours, then I went back in with the smaller elements filling in some gaps and overlapping some of the stamping with the addition of black ink. There was no rhyme or reasoning really for where I added things, I literally just kept going until I was in a place where I thought it looked good.
Once you are happy, then add the panel to the card front.
On scraps of Basic white stamp the Happy in Flirty Flamingo ink and layer onto a scrap of Coastal Cabana card stock. Stamp the Birthday in Coastal Cabana ink, layered onto Flirty Flamingo card stock. Lightly colour the edges of the card stock with the same colour.
Add to the card front with Dimensionals.
I hope you enjoyed my card today, I really enjoyed creating it. Please take a look at the list below and continue through the hop. There is going to be so much inspiration for these three colours .
Here's a list of supplies I used in today's project, click on the images to head over to my online store
Product List
")
")


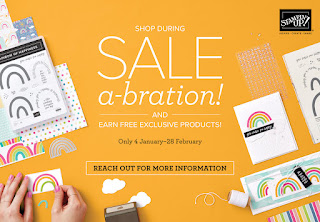
Do get in touch if you would like to see a copy of our Annual Catalogue, new Mini Catalogue and SAB Booklet - let me know if you would like me to get them or both in the post for you.

If you are on Facebook, why not pop over and check out our community group Craft & Banter. If you have a passion for paper craft, are brilliant at baking or a super talented seamstress then we would love to see you there. We share all types of crafting, run challenges and giveaways & generally have a right good natter.
See you soon
Vickie
Xxx


 Designer Series Paper")


")


")


