Saturday 30 July 2022

Perfectly Penciled Hand Coloured Happy Birthday Card. Stampin Bird's Showcase Blog Hop July 2022

  Good Morning Everyone

Happy Saturday! Hope you have some great plans for the day! We have a day mixed with jobs, shopping and play so I'm hoping we can get those boring jobs out of the way sharpish so that we can enjoy the rest of the day!

As it's the last Saturday of the Month, it's time for the Stampin Birds Blog Hop. 

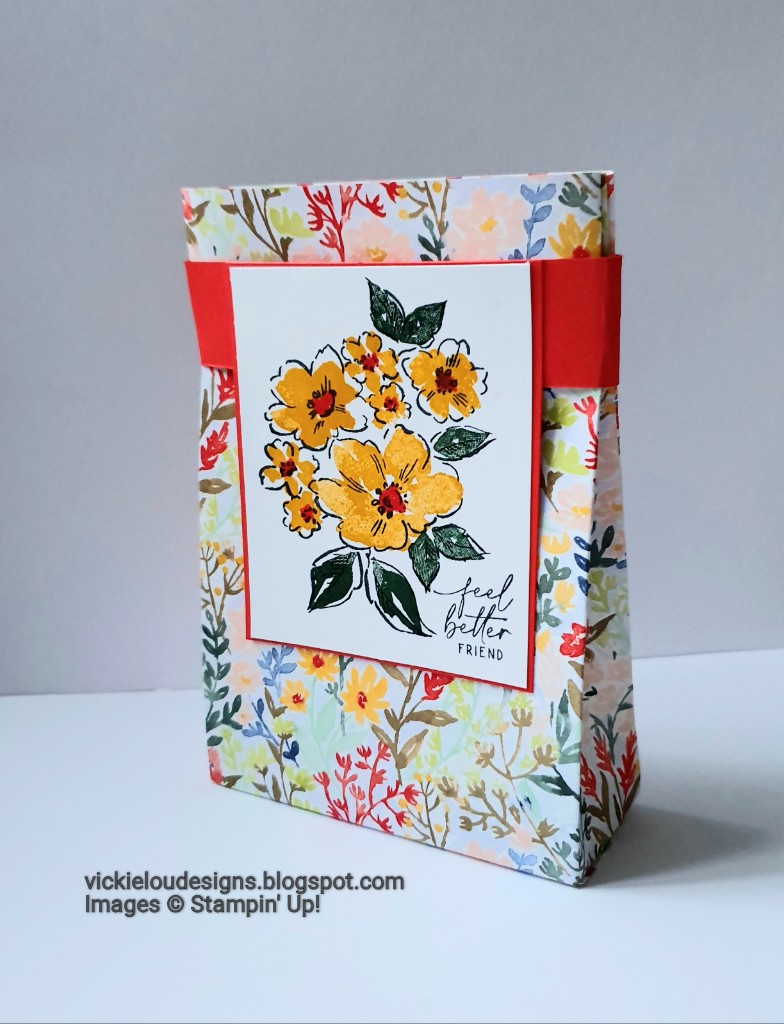
I have created a simple card today using the Perfectly Penciled DSP and some background detail from the Quatrefoil Tile embossing folder. The Colouring was done with our Watercolour pencils, and gives a great effect.


Measurements

Thick Basic White Card Stock

1pc - 5 7/8" x 8 1/2, scored at 4 1/8"

Basic White Card Stock

1pc - 3 7/8" x 5 5/8"

scrap

Perfectly Penciled DSP

1pc - large fussy cut flower

----------------------------------

Fold the piece of thick basic white along the score line to create you card base.

Take the Basic White card stock and place into your Quatre Foil embossing folder and run through your Cut and Emboss Machine.

Stamp the sentiment onto a strip of basic white with memento ink.

Colour in the fussy cut flower image front he DSP with a selection of your watercolour pencils.

Add the flower to the embossed panel. This particular image didn't fit on fully so |I positioned it where I wanted it and then trimmed off any over hanging pieces. 

Place the sentiment onto the card in some of the blank space, trim if needed.

Add this panel to the card front and job is done!! It's a really simple design and quick to create, but the image and embossing folder really add some pretty detailing

I hope you have enjoyed my card today, please continue through the hop and check out what the rest of the Birds have created. Donna is up next....

Here's a list of supplies I used in today's project, click on the images to head over to my online store Product List


If you are on Facebook, why not pop over and check out our community group Craft & Banter. If you have a passion for paper craft, are brilliant at baking or a super talented seamstress then we would love to see you there. We share all types of crafting, run challenges and giveaways & generally have a right good natter.

See you soon 

Vickie 

Xxx

Friday 29 July 2022

Wonderful World Happy Birthday Reverse Easel Card. Fun Fold Friday.

  Good Morning Everyone

Woo Hoo, It's Friday! Hope you all have some amazing plans for the weekend. We have a few bits to do around the house on Saturday - but are hoping on a day out somewhere on Sunday - weather permitting of course!

As it's Friday we have another Fun Fold to share with you. I will show you my card, then I'll leave links to both Donna & Karen's blog so you can take a look at there projects too.

I just can not get enough of the Wonderful World Bundle from the Saleabration catalogue. The DSP is Divine and the Stamp Set is super pretty - what's more you can get them both for FREE ! yep, that's right these come as a bundle and you can get a set with a qualifying purchase before the end of August. If you want more information - just get in touch.


Measurements

Orchid Oasis Card Stock

1pc - 5 7/8" x 10"

1pc - 3 3/4" x 1 1/2"

1pc - 4 1/2" x 3"

Flirty Flamingo Card Stock

1pc - 4 3/4" x 5 5/8"

1pc - 4 1/4" x 2 3/4"

1pc - 1 1/4" x 3 1/2"

4pc - 2 1/4" x 5 5/8"

Wonderful World DSP

1pc - 5 3/8" x 4 1/2" 

3pc - 2" x 5 3/8"

Basic White Card Stock

1pc - 1" x 3 1/4"

1pc - 2" x 5 3/8"

1pc - 2 1/2" x 4"

scraps

-------------------------------------------

On the long side, score the Orchid Oasis card stock at 2 1/2" and 5" and fold and burnish as though you are making a Z Fold card to create your card base.

Take all the DSP and adhere to the relevant sized Flirty Flamingo mat. Also add the 2" x 5 3 /8" of Basic white to a matching mat after adding a couple of the flowers from the stamp set in Orchid Oasis ink.

Add the largest panel to the card base, then two identical DSP panels above. I specifically cut my DSP so that the pattern followed through on the mats, I cut two small and the larger in a row and just wrote on the back to make sure I remembered the correct positioning! haha

On the reverse of these sections add a DSP panel to the top and the basic white panel below so there is somewhere to write a message.

Stamp the sentiment onto the smallest piece of basic white adding a little bit of the flower image to fill some of the blank space, then layer to the Flirty Flamingo and Orchid Oasis mats.

Add the sentiment to the card base centrally about 1/2" away from the edge of the card with dimensionals. I double stacked mine  - This will give height to tuck the vertical panel behind and keep the card upright.

With the last piece of Basic White stamp the flower in Orchid Oasis ink into the centre. On a scrap of Basic white stamp the Happy Birthday sentiment and trim, add this to the bottom of this stamped piece making sure you trim it down so all edges are flush. Layer this to the remaining Flirty Flamingo and Orchid Oasis card. Pop some Liquid Glue onto the top third of the panel and adhere to the top panel of the card, again making sure it is centered with the sentiment and the card base.

I hope you have enjoyed my project today, Please take a look at the links below and head over to see what both Donna and Karen have both created this week,

Taffy Crafting

Crafty Karen Designs

Here's a list of supplies I used in today's project, click on the images to head over to my online store Product List


If you are on Facebook, why not pop over and check out our community group Craft & Banter. If you have a passion for paper craft, are brilliant at baking or a super talented seamstress then we would love to see you there. We share all types of crafting, run challenges and giveaways & generally have a right good natter.

See you soon 

Vickie 

Xxx

Thursday 28 July 2022

Hand Penned Rings of Love Feel Better Gift Bag for a Friend. 3D Thursday

 Good Morning Everyone

Happy Thursday, I hope you are all having a fabulous week so far. 

We have another 3D Thursday Share for you today and I wanted to created a little gift bag to gift some chocolates for a friend who was feeling a little under the weather, just to make her smile!

I've teamed up the FREE Saleabration Rings of Love DSP with the Hand Penned Stamp Set. I Tried to pick out the colours from the DSP and if you look closely at the flowers in the paper, I thought I'd get away with using this image with the same colours - and I think it works


Measurements

Rings of Love DSP

1pc - 12" x 7 1/2"

Poppy Parade Card Stock

1pc - 3" x 3 5/8"

1pc - 1" x 11 3/4"

Basic White Card Stock

1pc - 2 7/8" x 3 1/2"

---------------------------------

Take the DSP and score as follows-

Long Side

Full Scores - 1", 5", 6 1/2" & 10 1/2"

Part Scores - 5 3/4" & 11 1/2" to approx 4"

Short Side - 6"

Fold and burnish all the full score lines well (don't worry about the part score lines for now).

Cut up the score lines along the bottom and notch into the squares to create tabs. then remove the thin rectangle int he lower left. notch into the top of the ling skinny rectangle that is above.


Add adhesive to the long rectangular tab and fold round to seal the sides. Fold in the two tabs, back and front - adhering each layer down.

Gently pinch in the top of the bag - the part score lines will help the bag sides come in smoothly.

Wrap the 1" length of Poppy Parade around the top of the bag and glue down to create a belly band. Trim off any excess - making sure the the join is towards the centre so that it's easy to cover up.

On your piece of Basic White stamp the outline image in memento ink and fill in the petals using Crushed Curry ink and the leaves with Evening Evergreen ink. Add colour to the centres using a Poppy Parade Blend. Add the Sentiment in memento down in the bottom right.

Layer this to the Poppy Parade mat. This will be glued directly to the belly band with the top edge lining up with the top of the belly band, so when adding adhesive to the top of the panel, make sure you do not add too much - otherwise it will end up sticky to the bag.

I hope you enjoyed today's project, please take a look at the links below and see what 3D projects Donna & Karen have both made today

Taffy Crafting

Crafty Karen Designs


Here's a list of supplies I used in today's project, click on the images to head over to my online store - Don't forget that the Rings of Love DSP is a Saleabration exclusive so it's only available until the end of August (or whilst stock lasts). Product List


If you are on Facebook, why not pop over and check out our community group Craft & Banter. If you have a passion for paper craft, are brilliant at baking or a super talented seamstress then we would love to see you there. We share all types of crafting, run challenges and giveaways & generally have a right good natter.

See you soon 

Vickie 

Xxx


Sentimental Park Thank you Card. Inspire Create Challenges #163 Colour Challenge

  Good Afternoon Everyone, Happy Monday! Today I'm sharing a card I've made for the current Inspire Create Challenge - #163 which i...