Good Evening Everyone
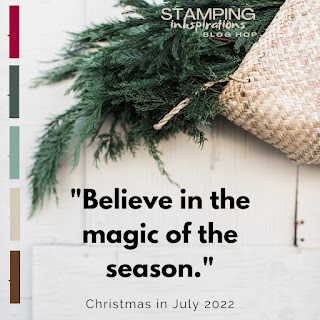
Today I'm blog hopping with the fabulous Stampin Inkspirations group and we have a fabulous Hop for you today. The theme that has been set has been a different one to normal. We had a choice of TWO Colour combinations to choose from. So, it's a Christmas theme - but do you prefer Cold Christmas, or Warm Christmas?
I chose the Cold Weather Christmas option, as we live in England, It's Usually cold at Christmas - plus I really do love this colour combination.
I've made some really cute gift bags which measure only 3" x 2" x 3/4", so I am sure you could make it work to hold a variety of other goodies. You can get 6 holders from one sheet of 12x12" card stock - so great to make for favours, teachers gifts etc.
Angie McKenzie ● Jan Musselman ● Karen Henderson
Mo Rootes ● Sue Allen ● Annette Ball
Susan Webster ● Danielle Kassing ● Ann Krucek
Vickie Littlewood ● Leonie Stuart ● Aurélie Fabre
Tricia Butts ● Sharon Hashimoto Burkert ● Judith PattersonHere's a list of supplies I used in today's project, click on the images to head over to my online store
Product List
If you are on Facebook, why not pop over and check out our community group Craft & Banter. If you have a passion for paper craft, are brilliant at baking or a super talented seamstress then we would love to see you there. We share all types of crafting, run challenges and giveaways & generally have a right good natter.
See you soon
Vickie
Xxx


.jpg)

.png)
.png)
Love 3D projects, thanks for sharing.
ReplyDelete3 darling little treat bags! Ilove them. Thanks for sharing!💕
ReplyDeleteSuper Cute Vickie
ReplyDeleteCute, cute treat holders Vickie, those snowmen are adorable x
ReplyDeleteGreat tote. I LOVE that snowman!!
ReplyDeleteVery cute, Vickie!!
ReplyDeleteSuch fun treat bags, Vickie! Love these snowmen! Thanks for sharing the details. x
ReplyDeleteThese boxes are so cute! I find them adorable! Thank you for sharing! And the tutorial is very clear!
ReplyDelete