
Good Morning Everyone
Happy Friday! and as it's Friday, we have some Fun Folds to share with you.
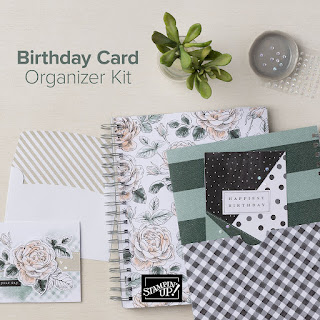
I've gone with a very simple Gate Fold Card - but the Regency Park Suite really does make it look that bit special. I have to send a Thinking of You Card to a friend and I thought this fold would be perfect. It's non fussy, but pretty and has plenty of room to write some words of condolence and encouragement.


Measurements
Night of Navy Card Stock
1pc - 11" x 6"
1pc - 4 1/4" x 3 1/2"
Basic White Card Stock
1pc - 5 3/8" x 4 7/8"
1pc - scrap
Shaded Spruce Card Stock
1pc - scrap
Regency Park DSP
1pc - 5 7/8" x 5 3/8"
1pc - 4 1/8" x 3 3/8"
2pc - 5 7/8" x 2 5/8"
fussy cut flowers
----------------------------
Take the Night of Navy Card Stock and score on the long side at 2 3/4", then flip it and score at the same at the opposite side - I find this helps get a better more even finish. Fold the card from the left hand side into the centre, and the right hand into the centre to create your gate, make sure you have the edges lined up perfectly and burnish well with a bone folder.
Add the largest piece basic white the the largest piece of DSP and adhere to the inside of the card.
Then add the two strips of DSP to both of the 'doors' on the front of the card. I made sure I cut these pieces in a particular way that the pattern followed directly and correctly across both parts, I personally prefer this look, especially as this paper has a defined pattern but you really don't have to.
Layer the remaining DSP to the Night of Navy Mat and add this to the card front, making sure that the piece is central and only cover one of the front gate sections with adhesive. If you do go over you may end up sticking your card closed!
Bring in your Mini Cut and Emboss machine and cut out the large detailed label in Shaded Spruce card stock and the plain label in Basic white card stock.
Stamp the sentiments into the centre of the white label, then add this to the Shaded spruce label, tucking in the edges so that it sits under some of the shaded spruce die detail. Add dimensionals to the back of this and place it into the centre of the smaller central panel,
Fussy cut a selection of flowers from the DSP and add to opposite corners with dimensionals.
Finally add some of the Milky Dots to the flower centres on the die cut
I hope you have enjoyed my card today - please click on the link below to see which Fun Fold Karen has created today
Here's a list of supplies I used in today's project, click on the images to head over to my online store
Product List
 Designer Series Paper")
")


If you are on Facebook, why not pop over and check out our community group Craft & Banter. If you have a passion for paper craft, are brilliant at baking or a super talented seamstress then we would love to see you there. We share all types of crafting, run challenges and giveaways & generally have a right good natter.
See you soon
Vickie
Xxx

No comments:
Post a Comment