
Good Evening Everyone
Tonight I am blog hopping with the Stamping INKspirations ladies and our theme for this month is 'Fun Folds'.
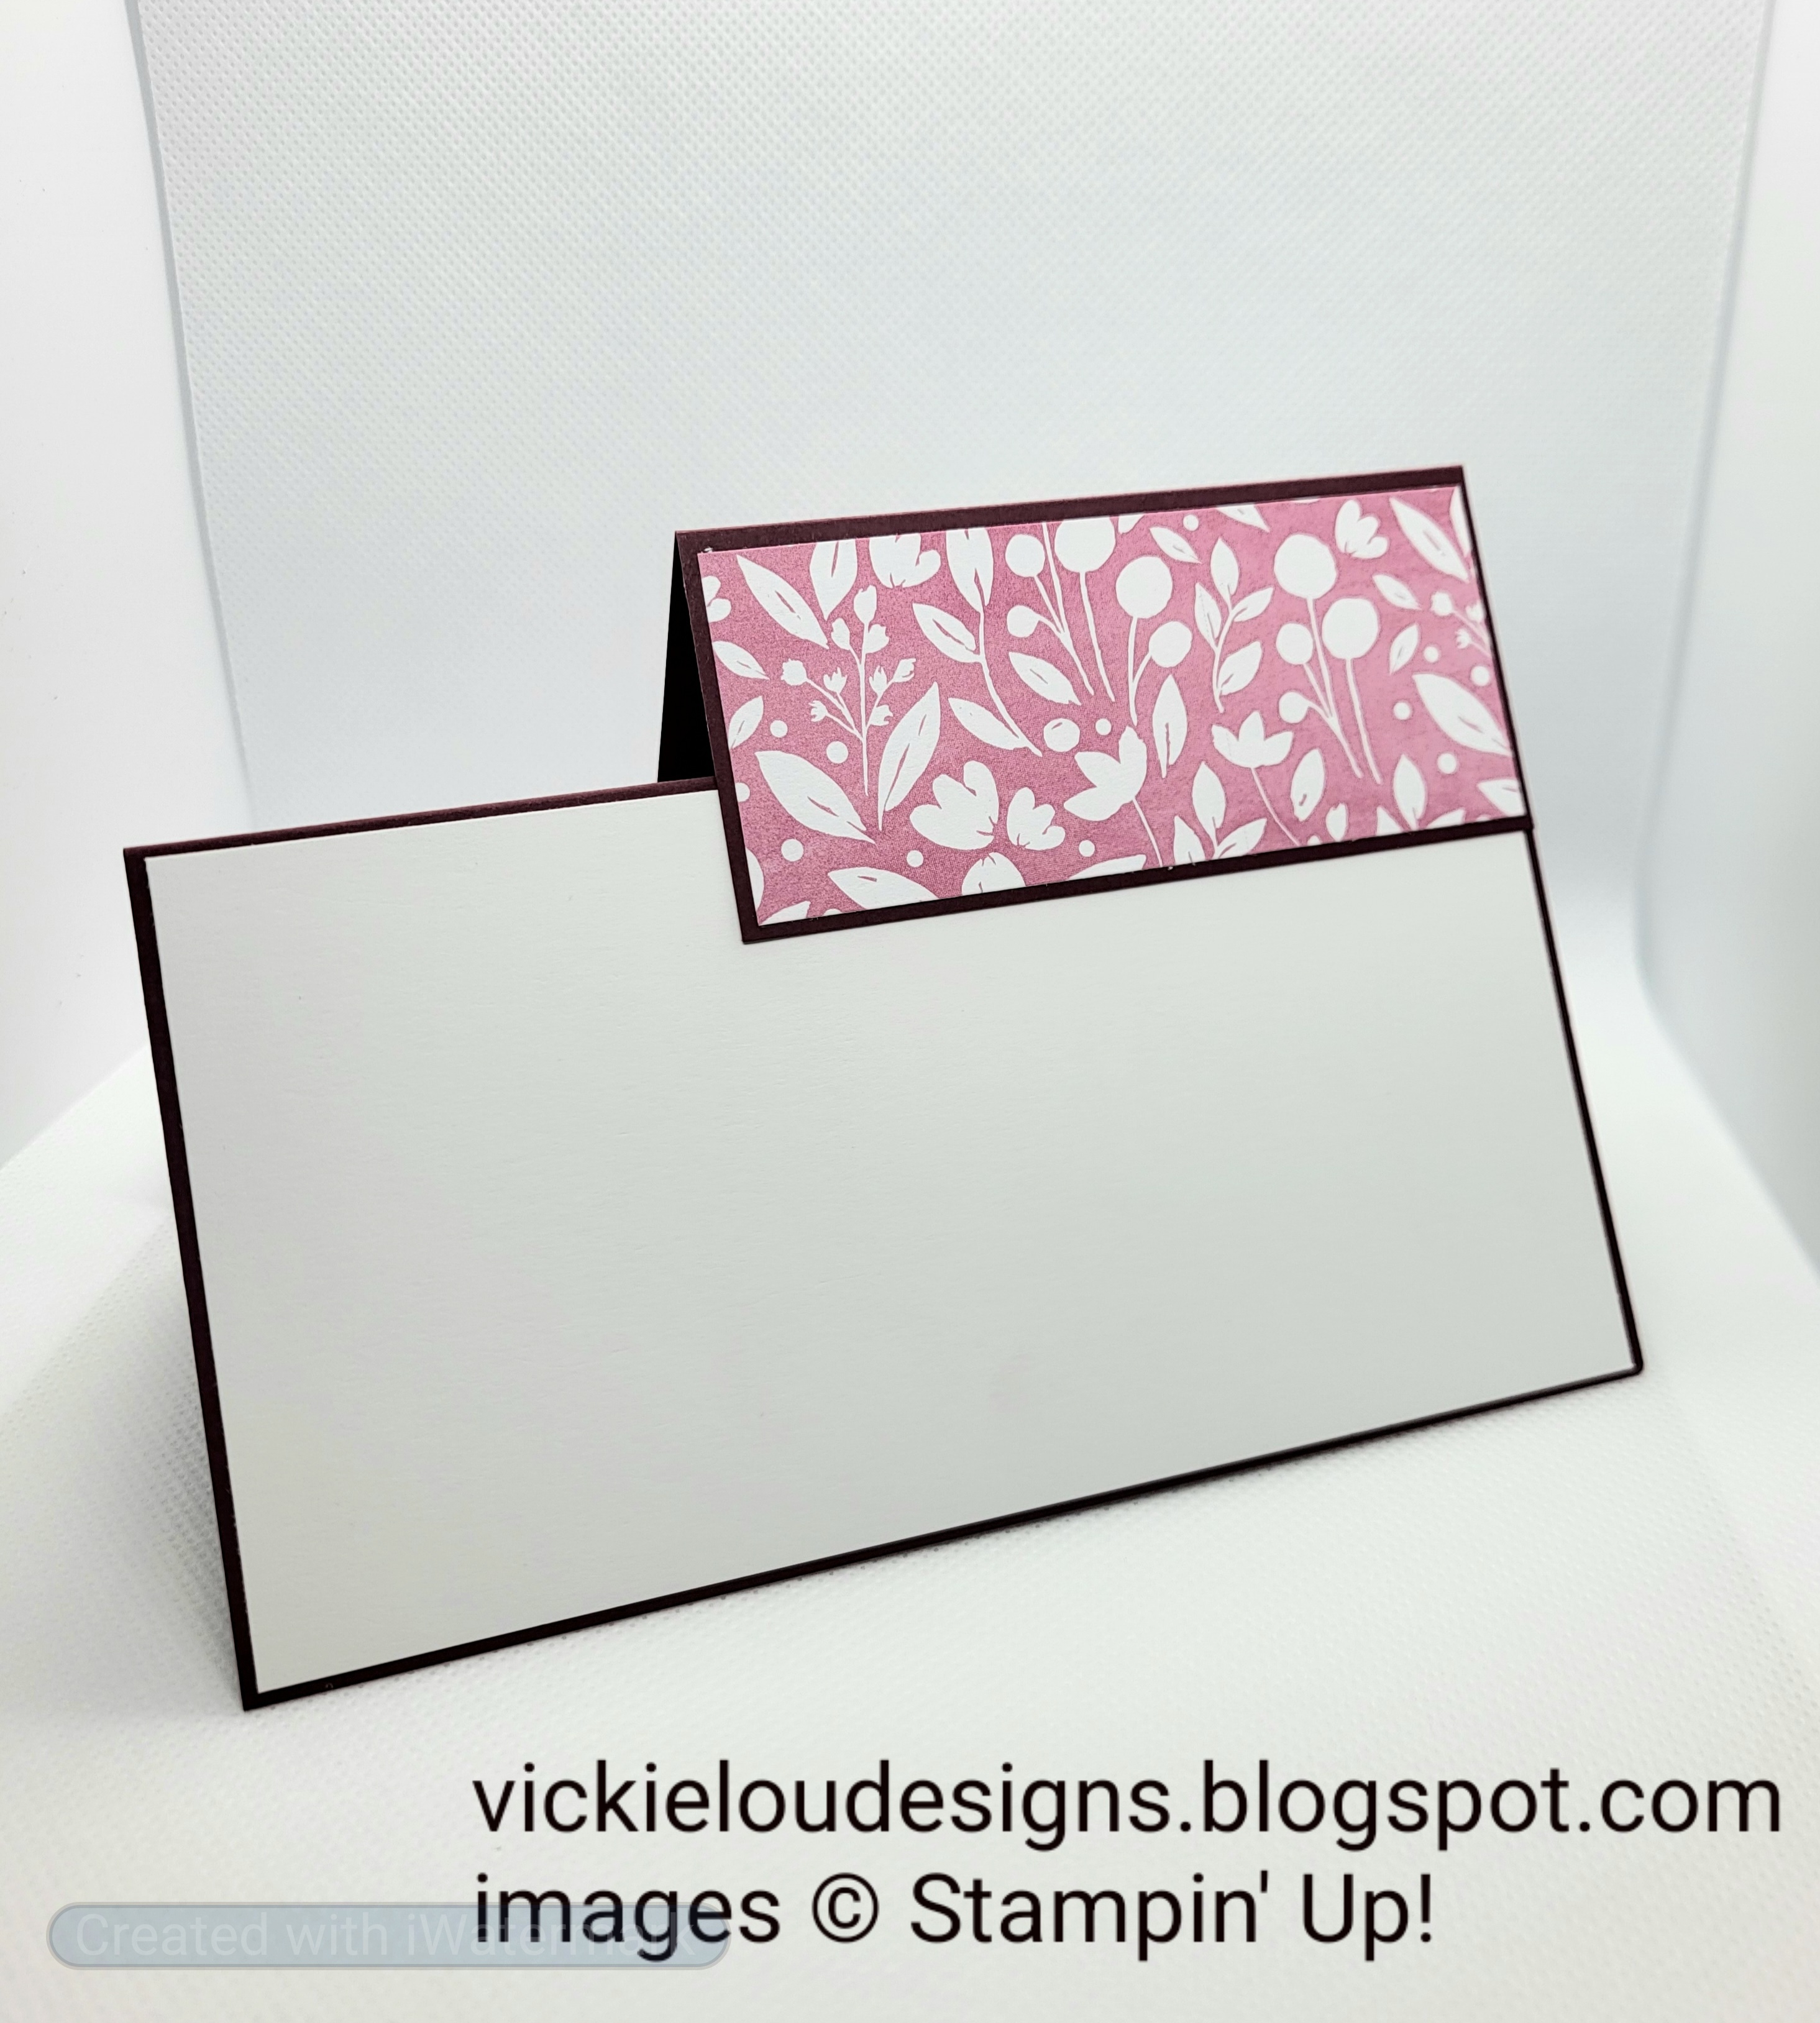
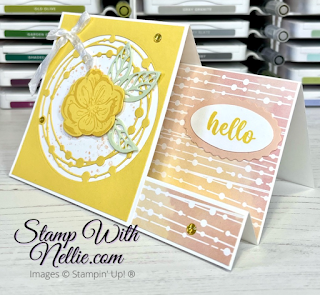
As you may know, I love a good Fun Fold and was quite frankly spoilt for choice. I saw this card by Heather Forgan from Stamp with Nellie and I knew straight away I wanted to CASE it. It's a really great way to get the stepper card effect without a complicated method. I have used Heather's Exact measures, just changed the decoration and also I've used a dark case base, I've added an extra white panel to the back so there is somewhere to write a message
I've used the Awash in Beauty DSP and the sentiment from Framed Florets along with Merry Merlot Card - all of which are retiring at the end of this catalogue.


Here is Heather's Original Project that I have cased
Measurements
Merry Merlot Card Stock
1pc - 8 1/4" x 5 7/8", scored at 3 1/8", 6 1/4" & 7 1/4"
1pc - 3 5/8" x 5 7/8", scored at 4 1/8"
scrap
Basic White Card Stock
1pc - 3" x 5 3/4"
scrap
Awash in Beauty DSP
1pc - 3" x 5 3/4"
1pc - 7/8" x 5 3/4"
1pc - 1 1/2" x 3 1/2"
1pc - 4" x 3 1/2"
-------------------------------------
Fold and burnish the score lines on the larger piece of Merry Merlot, taking note on folding the short score lines to create your 'peak' to the front Hold the card so that the small peak in facing up - adding the two pieces of DSP, then flip it around and add the basic white piece to the back. Add a fussy cut floral arrangement to the right hand side. I tried to get as much of the flowers showing as possible.
Add the DSP pieces to the remaining piece of Merry Merlot. Fold and burnish the score line.
Add a thin line of glue to the bottom of the back of the smaller piece and add this to the card - lining up the left edge with the left of the card base. Make sure that you don't add glue too far up otherwise you will stick the card closed.
Flip this over and fold flat, then add another thin line of glue to the open edge of the overlay piece, then fold it over and adhere down - again make sure you don't add too much glue too far over as it may cause you to stick your card shut.
Finally stamp the sentiment in Merry Merlot ink and trim, layer to a scrap of Merry Merlot card and trim leaving an nice border. Add this to the centre of the upper panel.
I hope you have enjoyed my card today - please continue through the hop to get lots more Fun Fold Inspiration. Teri is up next, click below to head on over.

Tricia Butts ● Judith Patterson ● Susan Webster
Leonie Stuart ● Karen Henderson ● Annette Ball
Anne Krucek ● Vickie Littlewood ● Teri West
Here's a list of supplies I used in today's project, click on the images to head over to my online store
Product List
 Designer Series Paper")
")


If you are on Facebook, why not pop over and check out our community group Craft & Banter. If you have a passion for paper craft, are brilliant at baking or a super talented seamstress then we would love to see you there. We share all types of crafting, run challenges and giveaways & generally have a right good natter.
See you soon
Vickie
Xxx

Beautiful card! This is another great fold. Thanks for sharing!
ReplyDeleteThank you xx
DeleteSuch a pretty card Vickie, love it x
ReplyDeleteVery pretty Vickie! I like the two coordinating DSP pieces you used.
ReplyDeleteThank you xx
DeleteI always avoid making stepper cards because they never seem to work for me! I'm going to give this version a go - looks great. Thanks for sharing ho to do it.
ReplyDeleteHonestly Karen, I'm the same - I'm not great with lots of measurements and complicated methods. This is a game changer! I would love to know how you get on xx
DeleteThis is really a wonderful project that isn't too hard when it comes to a fancy fold. It looks exquisite, but it breaks down into simple parts. I will definitely be trying this one out! Thanks
ReplyDeleteSuch a beautiful fun fold. Love how the different designs work together. So pretty.
ReplyDeleteBoth of your projects are so adorable! This is one of my favorite fun-folds. Thanks for sharing this!💕
ReplyDelete