
Good Evening Everyone,
Today I'm hopping with the fabulous Touches of Ink Ladies. Each month we hop without a set theme, just the encouragement to create keeping to a single bundle or a suite.
I'm working with the Framed Violets Bundle, keeping it clean and simple but this gives a fantastic result. I cut the oval shape from a scrap then used the aperture as a stencil to colour my background - heat embossing the beautiful flower and finishing it off with a simple sentiment.
what do you think?


Measurements
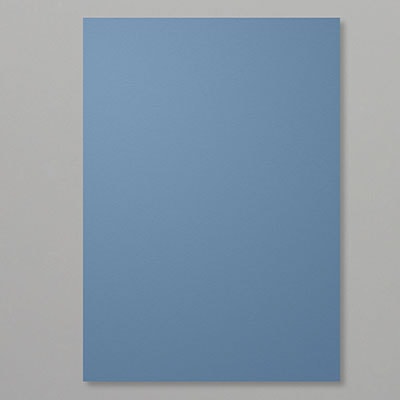
Misty Moonlight Card Stock
1pc - 4 1/8" x 11 3/4", scored at 5 7/8"
Basic White Card Stock
2pc - 3 7/8" x 5 5/8"
large scrap
-----------------------------------------------
Take the Misty Moonlight card stock and fold along the score line to create your card base - adding one of the Basic White pieces to the inside.
Run the scrap basic white through your Stampin' Cut & Emboss machine with the smooth oval die. Make sure you centre it well, leaving as much space around all the edges as possible.
Lay this 'Stencil' over your remaining piece of Basic White. Make sure you position it so that the Oval is central, but slightly higher than centre. I then secured this down with a lot of post it notes.
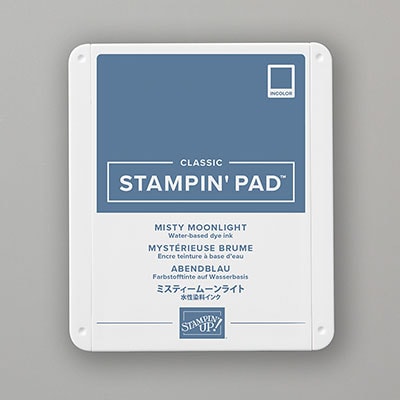
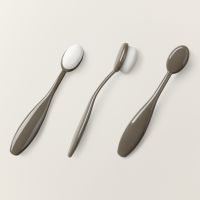
Load some Misty Moonlight onto your Blending Brush and cover the lower section. You want this to be quite dark, but take your time and deeper the colour slowly and evenly, then repeat this with Azure Afternoon at the top. Where the two meet try to soften the join by blending well.
When you are happy with the finish, peel away the stencil and stamp the sentiment in Misty Moonlight below.
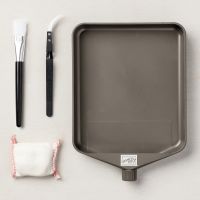
Once this is fully dried - It may take a little longer than normal due to the heavily loading of ink - Lightly wipe over the oval with your embossing buddy.
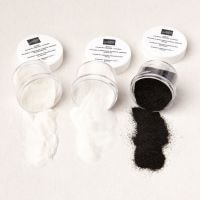
Ink up the floral image in versamark ink and stamp into the oval. Sprinkle over your white embossing powder then lightly tap off any excess. Bring in your heat tool and apply heat over the powder. This will melt the powder and turn it into a brighter and shiner image.
Add this panel to your card front and job done! i love the simplicity of this card - It would work in so many colourways and for many occasions.
Please take a few minutes to continue through the hop. Simone Kleine is up next.
ROLL CALL
derdiedasKleine bastelt - Simone Kleine
Iristempelt - Iris Philipps
gittisgiftcorner - Tatjana Niederberger
TraceOfCreativity - Tracy Held
JazzleDazzleCraft with Janice - Janice Thomson
Jungle Cards - Liane Gorny
Vickie Lou Designs - Vickie Littlewood
Here's a list of supplies I used in today's project, click on the images to head over to my online store
Product List







If you are on Facebook, why not pop over and check out our community group Craft & Banter. If you have a passion for paper craft, are brilliant at baking or a super talented seamstress then we would love to see you there. We share all types of crafting, run challenges and giveaways & generally have a right good natter.
See you soon
Vickie
Xxx


No comments:
Post a Comment