Thursday, 25 July 2024

Labelled with Love Happy Birthday Card. IIBH July 2024 - Colour Inspiration

 Good Evening Everyone,

Today I'm taking Part in the Ink & Inspiration Blog Hop. I've been struggling with Quality craft time recently and have't managed to join in with as many challenges and hops as I would have liked, but I had the hard word with myself and made sure I joined in with this month's hop as its a colour challenge and these colours are awesome together. That being said, it did take me some time to figure out how to incorporate Coastal Cabana into the mix.  You don't have to use all the colours, but me being me, I like to take the most difficult route when doing ANYTHING haha.

I've created my own DSP with the Labeled with Love stamp set which uses all the colour other than Coastal Cabana, which I then decided to use as the Card Base.

What do you think?


Measurements

Coastal Cabana Card Stock

1pc - 4 1/8" x 11 3/4", scored at 5 7/8"

scrap

Basic White Card Stock

2pc - 5 1/2" x 3 3/4"

scrap

----------------------------------------------------

Take the Coastal Cabana Card Stock and fold along the score line to create your card base - adding one of the basic White pieces to the inside.

Ink up the small image with the shapes on from Labelled with Love and stamp all around the edge of the card front in Coastal Cabana ink.

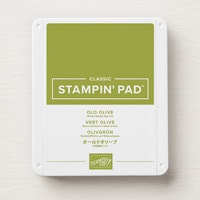
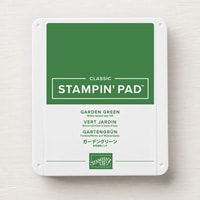
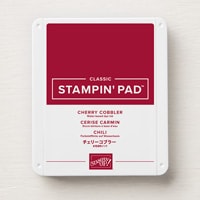
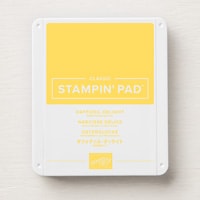
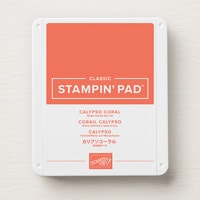
On the remaining piece of Basic White create your own DSP background using the small floral image, made up from the flower and leaf stamps. To get a mix to the colours I stamped some of the leaf images in Garden Green and some in Old Olive, I also used a mix of Daffodil Delight, Calypso Coral and Cherry Cobbler from the flowers. If you look closely to the bottom right, you will see an orangey tone - this is because I didn't clean my stamp off properly before moving onto another colour - a happy mistake - I think? haha

Add this panel to the card front.

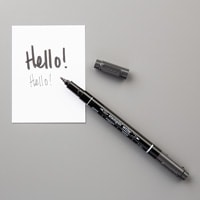
On a scrap of Basic white stamp the outline border image and the sentiment in Memento black ink. Cut out using the coordinating punch or die. Then take your Stampin Write Basic Black marker and colour the edges of the cut out taking it to the inner most line, this gives the cut out a thick even border, without adding lots of layers from card stock.

Cut out another label shape, this time from a scrap of Coastal Cabana, then cut in half, glue these two pieces to either end of the label, making sure that each side shows evenly.

Position this on the card front and stick down with a couple of dimensionals.

I hope you have enjoyed my card today - I really didn't think I'd manage it - but my persistence or stubbornness - you decide - made a pretty little card.

Please take a look at the list below and continue through today's hop, you are sure to get so much inspiration from these wonderful crafters using these colours.

Blog Hop Index


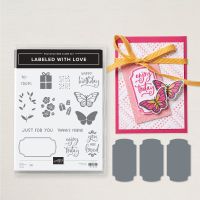
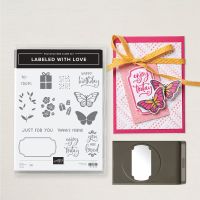
Here's a list of supplies I used in today's project, click on the images to head over to my online store Product List


If you are on Facebook, why not pop over and check out our community group Craft & Banter. If you have a passion for paper craft, are brilliant at baking or a super talented seamstress then we would love to see you there. We share all types of crafting, run challenges and giveaways & generally have a right good natter.

See you soon 

Vickie 

Xxx


The Project Share Project - 25th July 2024

 Good Morning Everyone,

Happy Thursday and welcome to The Project Share Project. Every Thursday we will all share an individual blog post sharing one project from each of the other creators - maybe an inspiring card, a very fancy fun fold or simply a project that made us smile.


Verity Pursglove

Verity shared another fabulous project - This uses acrylic blocks to create a fun watercolour background, finished off with some beautiful embossing.  Here's the link which will take you to the blog post for more details on the cards - https://inkybutterfly.com/2024/07/23/creating-a-watercolour-background-using-acrylic-blocks/


-----------------------------------------------------------------------

Heather Forgan

Heather created this fabulous card using the Bargello technique. I'd never heard of this before, but i believe it's a technique borrowed from Quilting. It creates a fabulous effect - Check out her blog to see how simple it is to create this fabulous gift card. 


------------------------------------------------------------------

Craft with Jayne

Finally we have Jayne, who created these fabulous gift box using the Countryside Inn DSP. What a cute little gift! It's so pretty!  Head over to her blog to get more details -https://craftwithjayne.co.uk/2024/07/23/origami-lidded-gift-box-countryside-inn-craft-with-jayne-stampin-up/


I really do hope you have enjoyed this post today. I enjoyed taking a closer look at these ladies' project and picking a favourite to share with you! If you have a moment or two, please head on over to their blogs. Check out these projects and see what else they have created too.


If you are on Facebook, why not pop over and check out our community group Craft & Banter. If you have a passion for paper craft, are brilliant at baking or a super talented seamstress then we would love to see you there. We share all types of crafting, run challenges and giveaways & generally have a right good natter.

See you soon 

Vickie 

Xxx

Monday, 22 July 2024

Every Thought of You Textured Floral Greeting Card. Creative Colour Challenges #150

 Good Afternoon Everyone,

Happy Monday! I hope you are all having a fabulous day so far! It's day 1 of the Summer Holidays here so we are plotting and planning lots of fun to be had over the next 6 weeks. 

I do hope that I can keep up with my crafting whilst having both girls home all day, but I may not be as regular as I would like to be. But let's just see how that goes!

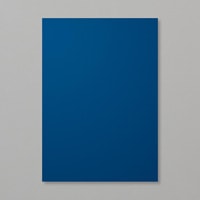
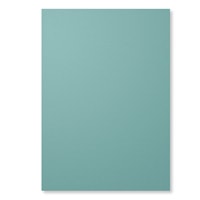
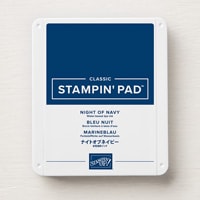
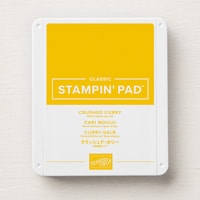
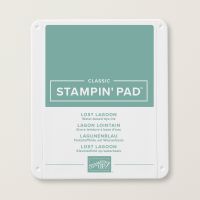
Today's card is for this week's Creative Colour Challenges #150 combo - Night of Navy, Lost Lagoon and Crushed Curry!  I love this combination and have used the Textured Floral bundle along with one of the Basics 3D embossing folders to create a lovely 'Just Because' kind of card.

What do you think?


Measurements

Night of Navy Card Stock

1pc - 4 1/8" x 11 3/4", scored at 5 7/8"

Lost Lagoon Card Stock

1pc - 5 1/4" x 3 1/2"

Basic White Card Stock

1pc - 5 5/8" x 3 7/8"

1pc - 3 3/8" x 3/4"

1pc - 5 1/8" x 3 3/8"

scraps

--------------------------------------

Take the Night of Navy Card Stock and fold along the score line to create your card base. 

Ink up the dotty splatter from Textured Florals and add some splats to opposite corners of the larger piece of Basic White in Night of Navy. I used 1st generation (full coverage) and 2nd Generation (stamped off once) stamping to create two tones.

Add this panel to the inside of the card once the ink is dry.

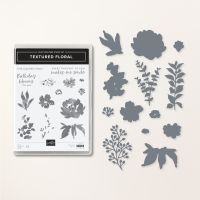
Stamp the flower head in Crushed Curry and the Leaves in Lost Lagoon on a scrap of Basic White and using your Cut & Emboss Machine, cut out using the coordinating dies.

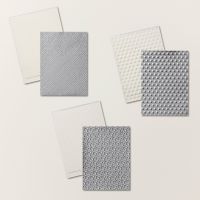
Whilst you have the machine to hand run the 3 3/8" x 5 1/8" piece of basic white through the cross hatch 3D embossing folder.

On the 3/4" x 3 3/8" strip of Basic white stamp the sentiment in Night of Navy in the centre.

Now using your die cuts and sentiment strip, work out your layout (don't stick anything down just yet). Figure out the pace that will sit behind your flower and leaf images and using the same technique as above ( 1st and 2nd generation stamping), add the dotty splatter, so that some will show behind the image.

Once you are happy, add the sentiment strip towards the bottom and layer on to the Lost Lagoon card stock. Add this to the centre of the card front.

Pop some dimensionals on the back of the flowers and leaves, then arrange on the card over the spatter.

This was a super easy and relatively quick card to make and I absolutely love it in this colourway - but i think it could look equally amazing in some other shades, and with an alternative sentiment.

If you would like t know my about the challenge, how it works or how to enter a project - Head on over to my blog - Creative Colour Challenges

Here's a list of supplies I used in today's project, click on the images to head over to my online store Product List


If you are on Facebook, why not pop over and check out our community group Craft & Banter. If you have a passion for paper craft, are brilliant at baking or a super talented seamstress then we would love to see you there. We share all types of crafting, run challenges and giveaways & generally have a right good natter.

See you soon 

Vickie 

Xxx


Sunday, 21 July 2024

Creative Colour Challenges - #150

 Good Evening Everyone,

As you may or may not know - I run the Creative Colour Challenges blog. Each week three Stampin Up Colours are randomly selected and I ask you to create a projects using those colours! Some week's are easier than others - but what I do find is that there's a lot of inspiration given from those who participate, so I thought that on a Sunday, once I have announced the Winner of the Week's Challenge over on Creative Colour Challenges Blog, I'd hop on over here and share the entries with you in the hope that we can give everyone some more inspiration, and I will link to those I can (as anyone can enter, you don't have to have a blog or a website), so It's also my chance to share there work and show some support.


HEATHER FORGAN

https://stampwithnellie.com/


SUZY HINTON


JOLANDA JOHNSTONE


I hope you will head over and take a look at the links provided and check out these very talented ladies! 


If you are on Facebook, why not pop over and check out our community group Craft & Banter. If you have a passion for paper craft, are brilliant at baking or a super talented seamstress then we would love to see you there. We share all types of crafting, run challenges and giveaways & generally have a right good natter.

See you soon 

Vickie 

Xxx


Darling Dinos Happy Birthday Card

  Good Morning Everyone, Today I'm sharing my first project with a new stamp set from our Jan-Jun Mini Catalogue.  My daughter is so obs...