Saturday, 8 April 2023

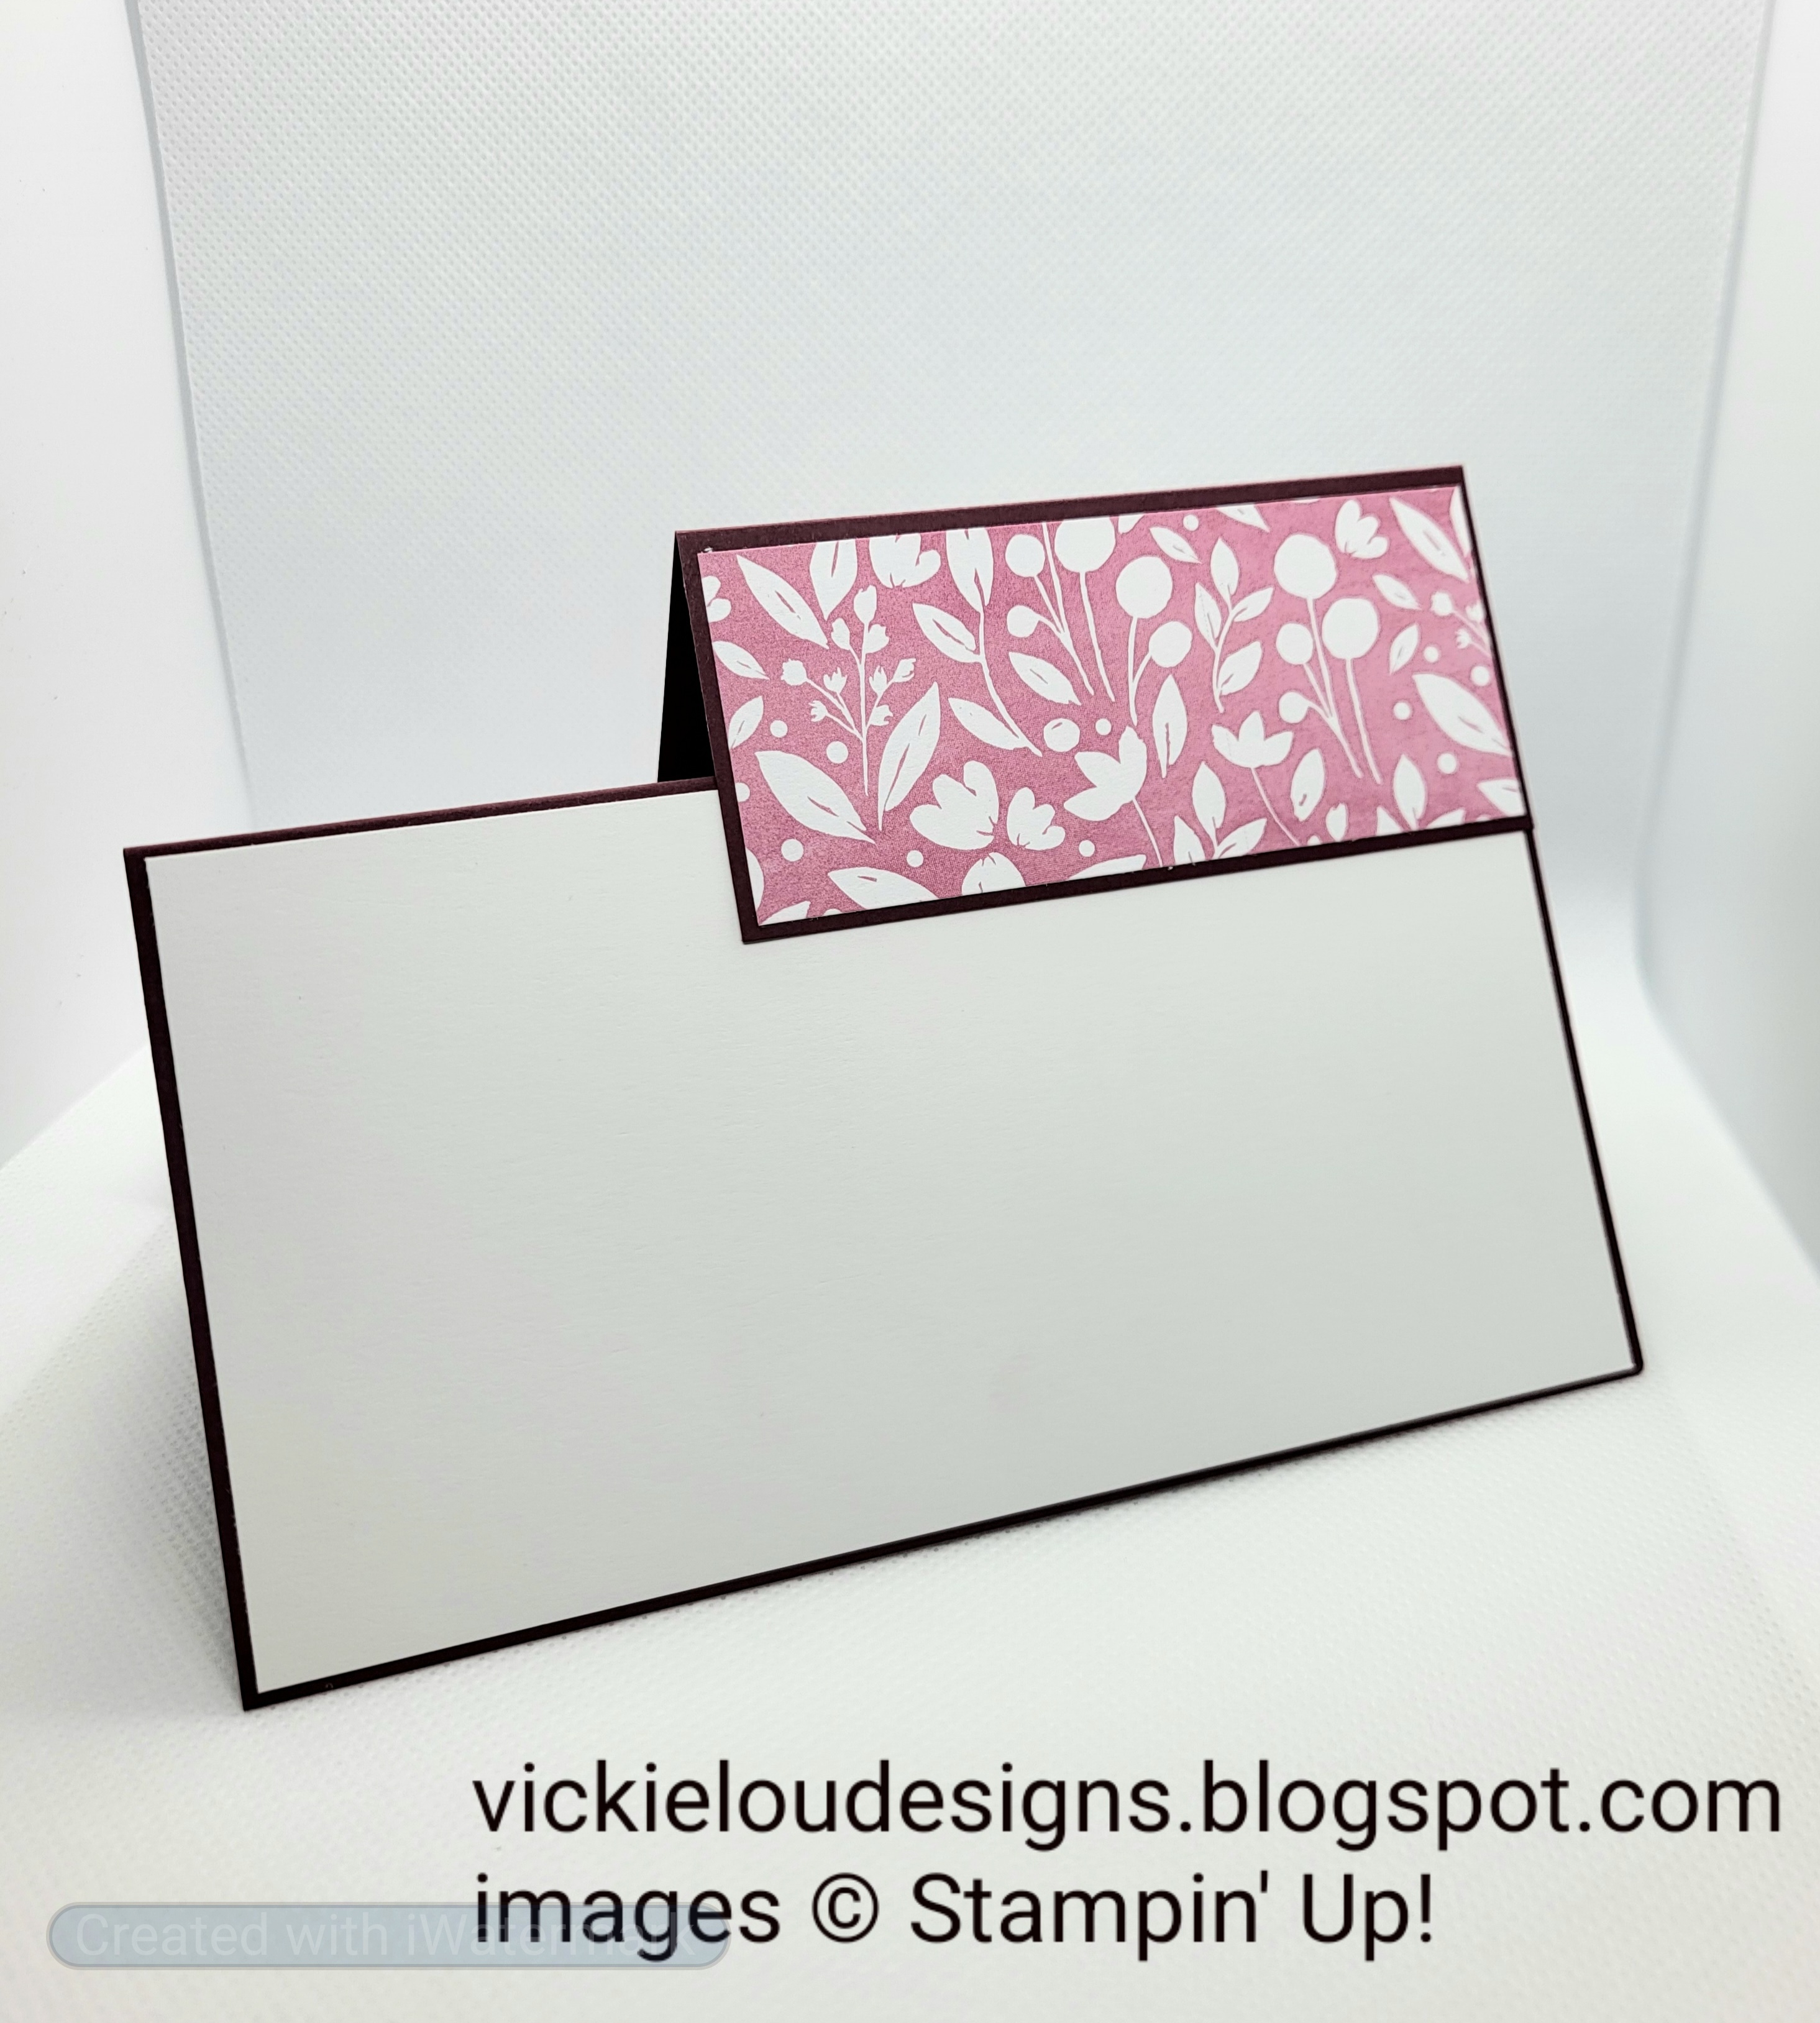
Framed Florets Awash in Beauty Faux Stepper Card. Stamping INKspirations Blog Hop. April 2023

 Good Evening Everyone

Tonight I am blog hopping with the Stamping INKspirations ladies and our theme for this month is 'Fun Folds'.

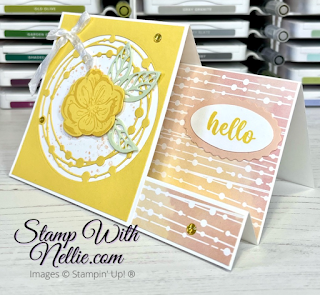
As you may know, I love a good Fun Fold and was quite frankly spoilt for choice. I saw this card by Heather Forgan from Stamp with Nellie and I knew straight away I wanted to CASE it. It's a really great way to get the stepper card effect without a complicated method. I have used Heather's Exact measures, just changed the decoration and also I've used a dark case base, I've added an extra white panel to the back so there is somewhere to write a message 

I've used the Awash in Beauty DSP and the sentiment from Framed Florets along with Merry Merlot Card - all of which are retiring at the end of this catalogue.


Here is Heather's Original Project that I have cased


Measurements

Merry Merlot Card Stock

1pc - 8 1/4" x 5 7/8", scored at 3 1/8", 6 1/4" & 7 1/4"

1pc - 3 5/8" x 5 7/8", scored at 4 1/8"

scrap

Basic White Card Stock

1pc - 3" x 5 3/4"

scrap

Awash in Beauty DSP

1pc - 3" x 5 3/4"

1pc - 7/8" x 5 3/4"

1pc - 1 1/2" x 3 1/2"

1pc - 4" x 3 1/2"

-------------------------------------

Fold and burnish the score lines on the larger piece of Merry Merlot, taking note on folding the short score lines to create your 'peak' to the front Hold the card so that the small peak in facing up - adding the two pieces of DSP, then flip it around and add the basic white piece to the back. Add a fussy cut floral arrangement to the right hand side. I tried to get as much of the flowers showing as possible.

Add the DSP pieces to the remaining piece of Merry Merlot. Fold and burnish the score line.

Add a thin line of glue to the bottom of the back of the smaller piece and add this to the card - lining up the left edge with the left of the card base. Make sure that you don't add glue too far up otherwise you will stick the card closed.

Flip this over and fold flat, then add another thin line of glue to the open edge of the overlay piece, then fold it over and adhere down - again make sure you don't add too much glue too far over as it may cause you to stick your card shut.

Finally stamp the sentiment in Merry Merlot ink and trim, layer to a scrap of Merry Merlot card and trim leaving an nice border. Add this to the centre of the upper panel.

I hope you have enjoyed my card today - please continue through the hop to get lots more Fun Fold Inspiration. Teri is up next, click below to head on over.

Jan Musselman  ●  Mo Rootes

Tricia Butts  ●  Judith Patterson  ●  Susan Webster

Leonie Stuart  ●  Karen Henderson  ●  Annette Ball

Anne Krucek  ●  Vickie Littlewood  ●  Teri West


Here's a list of supplies I used in today's project, click on the images to head over to my online store Product List


If you are on Facebook, why not pop over and check out our community group Craft & Banter. If you have a passion for paper craft, are brilliant at baking or a super talented seamstress then we would love to see you there. We share all types of crafting, run challenges and giveaways & generally have a right good natter.

See you soon 

Vickie 

Xxx


Friday, 7 April 2023

Amazing Year Birthday Wishes Card. Stamp n Hop Simple Stamping Blog Hop. April 2023

 Good Morning Everyone

Today I'm hopping with the fabulous Stamp n Hop ladies and our theme for April is 'Simple Stamping' Stamps, Ink, Paper & Punch. This is going to sound really odd - but I struggle with simple stamping, I kind of think that because I haven't done lots with my card that it is somehow unfinished - but sometimes less is definitely more and I absolutely love how my card has turned out, although I have used dies rather than punches! 

I've used the Amazing Yer stamp set, along with the layering Circle dies which are both retiring - and also Mint Macaron & So Saffron colours which will also be leaving us shortly.

I have really enjoyed using this stamp set - it is perfect for simple stamping with the lovely sentiments and that sweet bunch of flowers


Measurements

Mint Macaron Card Stock

1pc - 5 7/8" x 8 1/4", scored at 4 1/8"

1pc - scrap

So Saffron Card Stock

1pc - 5 1/2" x 3 3/4"

Basic White Card Stock

1pc - 5 5/8" x 3 7/8"

1pc - 5 3/8" x 3 5/8"

scrap

------------------------------------

Take the Mint Macaron Card stock and fold along the score line to create your card base adding the larger piece of Basic White to the inside and the so saffron card to the front.

On a scrap of basic white stamp the bunch of flowers and then using the largest circle die, cut out using your Cut & Emboss Machine, also cut out the largest scallop circle from a scrap of Mint Macaron.

Colour in the image using your Stampin Blends, then layer onto the scallop. 

Take the remaining piece of Basic White and stamp the sentiment centrally towards the right in Memento black ink. I used my image piece to help me with the placement.

Add the Basic White panel tot he centre of the card front, then position your image piece and once happy, adhere down with a few dimensionals.

I hope you have enjoyed my card today. Please continue through the hop - visiting Annette first...


Roll Call

1. Mo Rootes – crafty-rootes (UK)


2. Victoria Littlewood


3. Annette Elias


Here's a list of supplies I used in today's project, click on the images to head over to my online store

Product List

/span>


If you are on Facebook, why not pop over and check out our community group Craft & Banter. If you have a passion for paper craft, are brilliant at baking or a super talented seamstress then we would love to see you there. We share all types of crafting, run challenges and giveaways & generally have a right good natter.

See you soon 

Vickie 

Xxx


Happiness Abounds Stable Door Birthday Card. Fun Fold Friday

 Good Morning Everyone

Happy Friday! It's Fun Fold Friday, so I have a landscape Stable Door fold card to share with you.

As you know I love a Fun Fold, but I absolutely love an easy fun fold! This Fold is so simple and you can achieve some amazing designs. 

I decided to use the Hues of Happiness Suite today, I'll be sad to see these products retire at the end of the Month - be sure to grab them whilst you can if you want them too!


Measurements

Night of Navy Card Stock

1pc - 4 1/8" x 11 3/4", scored at 5 7/8"

1pc - 3" x 3 3/4"

Basic White Card Stock

1pc - 5 3/4" x 2 1/2"

scrap

Hues of Happiness DSP

1pc - 2 1/2" x 5 3/4"

1pc - 3 5/8" x 2 7/8"

1pc - 1 3/8" x 5 3/4"

-----------------------------------------------------

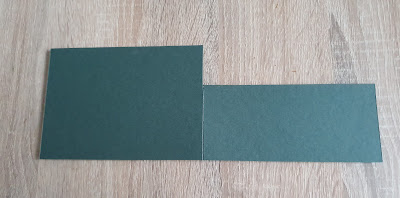
Take you piece of Night of Navy card stock and fold along the score line. Cut off a 1 1/2" strip from the top of the card front, so you are left will a piece that looks like this...

(I forgot to take a picture of my Night of Navy Piece as I was creating, so I had to do another one! haha)

Add the DSP panels to the card, adding the basic white piece behind the the 'door'.

Layer up the remaining piece of Night of Navy and the DSP.

Add glue to the back of this Night of Navy piece but only the bottom half, add this to the card front, making sure that you line it with the top and bottom of the back piece, so that it is evenly spaced.

Now, add a selection of fussy cut and die cut flowers and leaves, along with the sentiment which I just stamped on Night of Navy ink onto a scrap of basic White and trimmed down.

I hope you have enjoyed my project today - please take a look at the link below and head over to see what Fun Fold Karen is sharing today

Crafty Karen Designs

Here's a list of supplies I used in today's project, click on the images to head over to my online store Product List


If you are on Facebook, why not pop over and check out our community group Craft & Banter. If you have a passion for paper craft, are brilliant at baking or a super talented seamstress then we would love to see you there. We share all types of crafting, run challenges and giveaways & generally have a right good natter.

See you soon 

Vickie 

Xxx


Creative Colour Challenges - #CCC251

   Good Morning Everyone, I hope you are well. Welcome to the next Creative Colour Challenge. I love playing around with colour combinations...