Saturday, 22 February 2020

Join my Stampin Up Team during Saleabration and get so much more!!!

Good Evening Everyone,

So, this post has no project - sorry, well Im not that sorry because I need to share this with you!!


It's our amazing Joining offer.....You get to create a kit with product of your own choice to the value of £130 for only £99 and Stampin Up will cover the usual £4.95 postage cost, plus business resources such a catalogues as the usual deal stands, but during sale a bration you recieve a 48pc 6x6cm paper pack containing a selection of the new paper patterns, a mini guillotine trimmer (currently not available to puechaee) and you can add a stamp set of your choice,

You can put in whatever you want!! Not many companies let you chose your kit!!! And if you join now, you can add products from our Mini Catalogue and the annual catalogue to your kit,

So why sign up rather than just placing an order as a hobby crafter. You are not obliged to sell anything, so you can purchase so many goodies, with £31 of Free stuff and you recieve a 20% discount and as long as you hit the low quarterly minimums you will continue to get the discounted

Plus you will get to Pre Order new product from catalogues before customers. There's events held which you will be able to attend and then there's the great community of the team and Stampin Up.

So, what if you would like to earn as a buisness? Well, you get all the perks above along with help and guidance to achieve your goals. There's a great compensation plan and you can also work towards the yearly incentive trip!

If you are interested or have any questions, give me a call, email or find me on facebook, I would love to have a chat and see how you could fit into our Stampin Up family

Email - vickieloudesigns@outlook.com
Tel - 07905615260 (I do have a 10 month old baby, so if I don't answer, please do leave a message and I will come straight back to you).
Facebook - Vickie Lou Designs.

See you soon
Vickie
Xxx

Friday, 21 February 2020

Best Dressed For You 2" Gift Box

Good morning everyone,

We made it to Friday, hope you all have some wonderful plans for the weekend. We have a family day planned tomorrow!! I can't wait!!

Today I have this cute little 2" cube gift box decorated in the Beautiful Best Dressed DSP.


Measurements

Petal Pink Cardstock
1pc - 8 1/2" x 6 1/2"

Best Dressed DSP
5 pc - 1 7/8" x 1 7/8"

Take the petal pink cardstock and score as follows :-
Long Side - 2", 4", 6" & 8"
Short Side  - 2", 4" & 6"

Then cut away at it to get a shape like this.


Add the 5pc of dsp to the cardstock as shown below, and round the corners of the upper most thin section. Also add a small thumb notch to what will be the front panel.


Add tear and tape to the tab and fold around to adhere to the opposite side. Fold in the sides, back and adhere the front down and the bottom to create the base.


Take the small tag die from the Bouquet Bunch Dies and run it through to create three tags, onw in whisper white, one in Old Olive and one in Lovely Lipstick. Stamp the sentiment on the whisper white and rhen layer all three up, offsetting them slight so you can see all the colours. Thread bakers twine through the hole and tie a knot about 1/4" up from the tags. Using a glue dot, secure this to the lid. Finally tie a big bow with the tulle ribbon and add over the knot with another glue dot.


Here's a list of all the supplies I used in today's project, click on the images to head over to my online store for more information or to place an order.

Product List
Thanks for joining me today, please click follow or subscribe by email to be notified each time I post a new project.

See you soon

Vickie
Xxx

Thursday, 20 February 2020

Flourishing Phrases Happy Birthday Card using Die Cut Stencils

Good morning everyone

I hope you are well. Today is another miserable day... why can't it be summer yet?

Today I have this lovely birthday card with this amazing bloom on the front. But did you notice the backgrounds??? I've created my own stencil by die cutting and sponging.


Measurements

Shaded Spruce Cardstock
1pc - 4 1/8" x 11 3/4", scored at 5 7/8"

Very Vanilla Cardstock
1pc - 5 1/4" x 3 1/4"
1pc - 3" x 3 3/4"
1pc - 3/4" x 2"
Scraps for the flower

1pc of cardstock slightly larger than 5 7/8" x 4 1/8" to create the stencil.


Start by taking the larger piece of cardstock and create the stencil. Lay your dies onto the cardstock and run through your die cutting machine. I used two leaves from the Bouquet Bunch Dies, repeat this until you have cut out several shapes in the card.


Next fold the shaded spruce cardstock along the score line and place the stencil over the top. I held it steady with my hand, but you could always tape it down. With an inked up sponge in shaded spruce, press down into the negative space using an up and down motion - I didn't want these leaves to look smooth, I intended on the dotted rougher finish. You can make this as dark or as light as you want, just add more ink to get a darker image. Sponge the edges of the card front lightly.

Repeat this on the 3" x 3 1/4" piece of very vanilla but use Old Olive in this time. Add this panel to the centre of the card front.

On the remaining larger piece of very vanilla add a couple of sponged leaves in the lower right hand corner and sponge the edges lightly in shaded spruce. Add this panel to the inside of the card.

Next, ink up the flower from flourishing phrases in Lovley Lipstick and stamp twice onto a scrap of very vanilla, then once in Mango Melody. Fussy cut a full flower and half the flower of Lovely Lipstick and just thw stemens from tha mango melody piece. Layer these together and add to the card front, positioning it towards the top of the old olive panel.

Stamp the sentiment from Rustic Retreat stamp set in memento ink and colour the solid sections with the lovely lipstick blend. Sponge the edges with shaded spruce and add to the card below the flower.

Lastly, add a little bling by placing a large rhinestone at either side of the Happy and one to the centre of the flower.

Here's a list of all the supplies I used in today's card, click on the images to head over to my online store for more information or to place an order- orders of £45 or more start earning you FREE sale a bration goodies, so don't delay.

Product List
Thanks for joining me today, please click follow or subscribe by email to be notified each time I post a new project.

See you soon

Vickie
Xxx

Wednesday, 19 February 2020

Noble Peacock Thank You Aperture Gift Box

Good Morning Everyone,

It's  Wednesday!! Imogen is going out for lunch with Grandma for a few hours and today I have nothing else planned except to craft, so I'm rather looking forward to locking myself away in the craft room for a while.

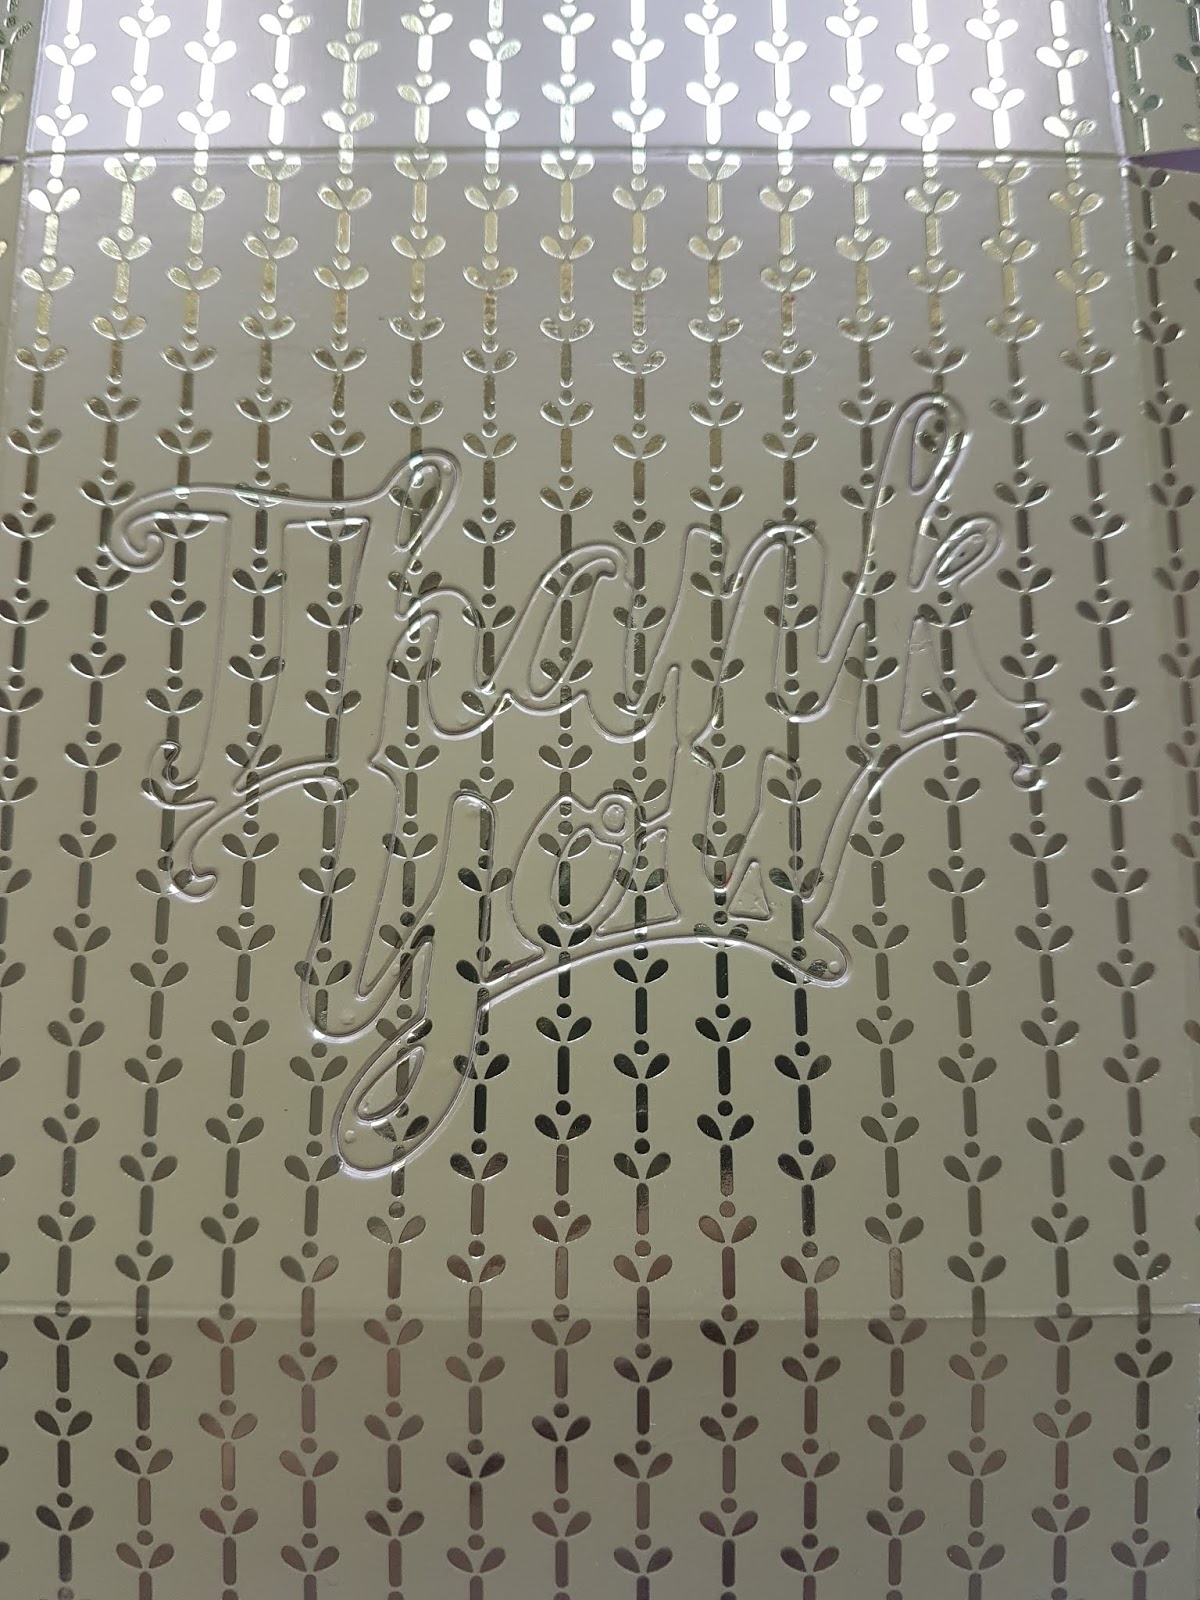
Today I have created this GORGEOUS  4" x 4" x 1" gift box in the Beautiful noble peacock foiled cardstock. Added interest is created by adding a die cut word to the lid.


Measurements

Noble peacock speciality DSP
1pc - 11" x 6"

Window Sheet
1pc - 3 7/8" x 3 7/8"


Place your DSP into the simply scored and score as follows
Long side - 1", 5", 6" & 10"
Short side - 1" & 5"

Holding the DSP horizontally, cut up the score lines to meet the horizontal and notch into the squares, repeat this for the opposite side and you will have a piece that looks like this..


Now, turn your DSP so it's vertical and place the Thank You die centrally into the large square section and hold in palce with a bit of washi tape, like so..


Run this through your die cutting machine, and the gently remove the die making sure you keep hold of all the pieces within it. So your piece of cars will look like this, don't worry it's supposed to look a little odd right now.


Flip the DSP over and add the window sheet to the section where you have die cut. Turn it the right way around and put the Thank you back into the space.


Take all the little pieces that are left from the cutting and start adhering them back into there correct place, so you end up with this


Next, gently remove the thank you piece and it will leave all the other pieces in place perfectly the have your aperture say thank you.

Take your 1" circle punch and add a small thumb hole onto the panel below the die cut area, dd tear and tape to the two square notched tabs you created. Then fold these and adhere onto the inside of the punched piece to create the lid. Add adhesive to the remaining tabs and fold all these towards the plain 4" panel to create the base.

Finally wrap a length of polka dot tulle ribbon around the box above the sentiment, and tie in a square knot.

Here's a list of all the supplies I used in today's project, click on the images to head over to my online store for more information or to place an order- don't forget that all orders over £45 start earning sale a bration freebies!

Product List
Thanks for joining me today, please click follow or subscribe by email to be notified each time I post a new project.


See you soon

Vickie
Xxx

Creative Colour Challenges - #CCC251

   Good Morning Everyone, I hope you are well. Welcome to the next Creative Colour Challenge. I love playing around with colour combinations...