Good Evening Everyone,
It's been a little whole since I last posted, I'm sorry for that - but I've been away on holiday for a week and I tried really hard to get myself ahead, and I actually made a fair few projects but I unfortunately ran out of time to get them written up and shared. But that means we have a silver lining - now I'm back and fully refreshed ( as refreshed as a Mum can be on a family holiday with a 3year old and a 5 year old - haha) I have lots of projects ready to share.
Today I'm joining in with the Stamping with Friends blog hop and it's 'Blogger's Choice' which means we have no set them, just an opportunity to share something we have created!
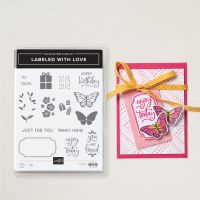
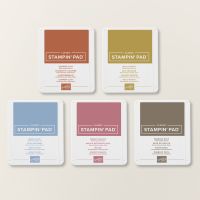
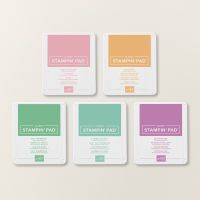
I've used the labeled with Love stamp set and created a very simple card with the butterflies coloured in using the In Colors. Both cards are created exactly the same, but I've used two very different colour palettes and it's hard to choose a fave - what do you think?
Measurements (one card)
Basic Black Card Stock
1pc - 5 7/8" x 8 1/4", scored at 4 1/8"
Basic White Card Stock
2pc - 5 5/8" x 3 7/8"
scraps
------------------------------------------
Take the Basic Black Card Stock and fold along the score line to create your card base and add one of the Basic White pieces to the inside.
Place the remaining piece of Basic White into your Simply Scored and score at 1/2" and 3/4" on all four sides.
On scrap Basic White card stock stamp the butterfly image from Labeled with Love 5 times with memento, then 'colour' these in using each of the In Colours (in the set). Fussy cut these out and lay them down inside the border you have created with the score lines - three along the top then one below the first and the last one below the third. - don't stick them down, the placement will just help you get your sentiment into the right spot. ( If you are super confident you can add them before stamping but I just know i'd mess it up! better to take the time to do this additional step so I don't have to start again).
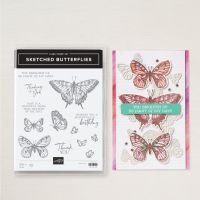
Ink up the sentiment from Sketched Butterflies and stamp in the space created.
Add the stamped panel to the card front, and then pop a mini dimensional onto the back of each butterfly and reposition these into place.
I hope you have enjoyed my cards today - I had so much fun creating them. Please take a look at the list below and continue through the hop. There is so many talented creators in this hop today, you will be sure to find a huge amount of inspiration - head on over and show them all some love.
Here's a list of supplies I used in today's project, click on the images to head over to my online store
Product List
If you are on Facebook, why not pop over and check out our community group Craft & Banter. If you have a passion for paper craft, are brilliant at baking or a super talented seamstress then we would love to see you there. We share all types of crafting, run challenges and giveaways & generally have a right good natter.
See you soon
Vickie
Xxx

.png)







.jpg)

.png)
.png)
Lovely cards. It is so hard to get ahead when you're preparing for a vacation! Glad you had some time away!
ReplyDeleteYou can’t go wrong with butterflies. Love the layout.
ReplyDeleteLovely cards Vickie, I love this bundle and the in colours especially the 2024 - 2026 colours x
ReplyDeleteThe cards are marvellous, beautiful and PRETTY!!!
ReplyDeleteThe cards are marvellous, beautiful and PRETTY!
ReplyDeleteI love butterflies! Your card is beautiful!
ReplyDelete