
Good Morning Everyone
Happy Friday! I hope are all well and looking forward to a fabulous weekend.
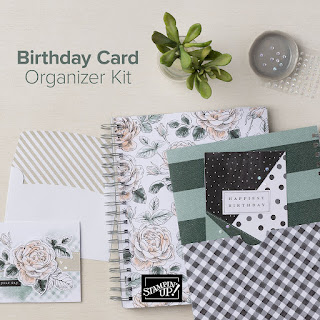
Today I've made a card that brings together several products from Stampin Up. I love the varity of our products and how well they can work together, even if they aren't planned to.
I've used the Textured Chic DSP, Framed Florets Bundle, Amazing Year stamp set and our Layer Circle Dies to make this lovely birthday card.

Measurements
Soft Suede Card Stock
1pc - 5 7/8" x 8 1/4", scored at 4 1/8"
Very Vanilla Card Stock
1pc - 5 5/8" x 3 7/8"
1pc - 3 5/8" x 5 3/8"
scraps
Texture Chic DSP
1pc - 3 7/8" x 5 5/8"
---------------------------------------
Take the Texture Chis DSP and a large circle die and cut out a circle from the centre of the panel using your Cut & Emboss Machine.
Place the smaller piece of very vanilla behind it and glue down, making sure you only adhere it around the circle so no adhesive shows in that space.
Stamp the sentiment from Amazing Year in Evening Evergreen onto the very vanilla towards to top of the circle.
Add this panel to your card base, which is created by folding the soft suede card along the score line.
Now ink up the floral bough from the Framed Florets stamp set in memento ink and stamp twice onto scrap very vanilla, and also into two opposite corners of the lager piece of very vanilla.
Once the ink is dry, colour in with your Stampin Blends.
Add the Very Vanilla Panel to the inside of the card.
Cut out the two images on the scrap with the coordinating dies.
Adhere one of the boughs along the bottom of the circle, going over some of the vanilla, then cut the remaining bough in half and add a piece to either side to lengthen the image.
On another piece of scrap Very Vanilla stamp the sentiment, again from Amazing Year in Evening Evergreen ink. Trim down and angle either edge. Now add some of the ink to the edges, holding the sentiment vertical, gently tap it into the ink pad adding the ink to the edge. This helps give a thin line around the card without adding more layers, and i'll be honest, I find it hard to cut to such small increments, so this is just an easier way for me.
Finally add this to the card front at the top of the boughs.
I hope you have enjoyed my card today, I loved making it it!
Here's a list of supplies I used in today's project, click on the images to head over to my online store
Product List
")
")
 Specialty Designer Series Paper")


If you are on Facebook, why not pop over and check out our community group Craft & Banter. If you have a passion for paper craft, are brilliant at baking or a super talented seamstress then we would love to see you there. We share all types of crafting, run challenges and giveaways & generally have a right good natter.
See you soon
Vickie
Xxx


.png)
.png)
No comments:
Post a Comment