Good Morning Everyone,
Happy Saturday! Today I'm taking part in this month's The Project Share Blog Hop and our theme is Embossing. There's two types of embossing - Dry & Heat.
Heat embossing uses Versamark clear ink, Powder and a Heat tool to create fabulously glossy accents to projects.
Dry embossing uses textured folder and a machine to manipulate a pattern onto some card or paper etc.
Today I've used Dry embossing to create a fun background. The embossing is pretty subtle on card, but I added some black ink to pick up all the raised detail - it's a bit dramatic, but it's unusual and I love it. Adding some butterflies give a little pop of colour.
What do you think?
Measurements
Basic Black Card Stock
1pc - 5 7/8" x 8 1/4", scored at 4 1/8"
Very Vanilla Card Stock
2pc - 3 7/8" x 5 5/8"
Scraps
-----------------------------------------------------
Take the Basic Black Card stock and fold along the score line to create your card base, adding one of the Very Vanilla pieces to the inside.
On scraps of Very Vanilla stamp the Label border stamp three times and then cut out using the coordinating punch.
Bring in your Cut n Emboss machine and run the larger piece of Very Vanilla card stock through the embossing folder, then also run the three smaller punch outs through the same folder. Pop these three pieces to one side for later.
Lay the larger piece of embossed card in front of you and hold your memento ink so the pad is facing down. Now, gently slowly a lightly sweep the ink pad across to card. this will apply ink to the raised sections, you may have to go over it a few times to build up the coverage, but better that way than going in with a heavy hand and getting ink everywhere. One you are happy with the coverage and it's all dry, add this to the card front.
Position the three punch out label shapes across the centre of the card front.
On a scrap of Very Vanilla, stamp three of the butterfly outline images and add some colour to the bodies. Fussy cut and place one in each of the panels created.
Finally stamp the sentiment, trim and add to run along the bottom of the card front.
Please continue through the hop to get lots more inspiration from these three talented creators. Jayne is up next - click below to head to her page
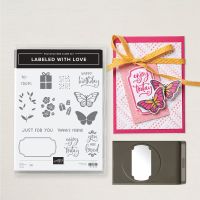
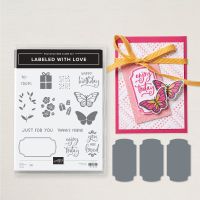
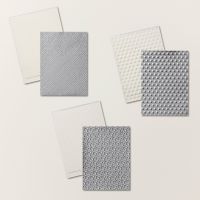
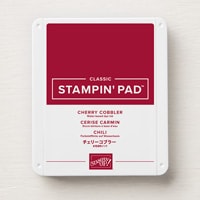
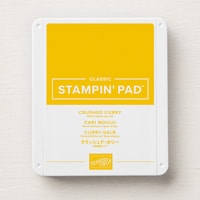
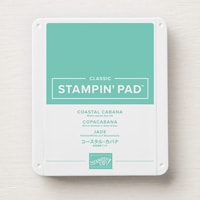
Here's a list of supplies I used in today's project, click on the images to head over to my online store\
Product List
If you are on Facebook, why not pop over and check out our community group Craft & Banter. If you have a passion for paper craft, are brilliant at baking or a super talented seamstress then we would love to see you there. We share all types of crafting, run challenges and giveaways & generally have a right good natter.
See you soon
Vickie
Xxx

.png)







.png)

.png)
.png)
What a great card... The drama works!
ReplyDeleteFabulous card! This technique is awesome with this embossing folder xx
ReplyDelete