Good Afternoon Everyone,
Today I'm taking part in the Touches of Ink Blog Hop. We hop every month, and we are given pretty much free reign with the theme, but we are encouraged to create with just one suite or bundle.
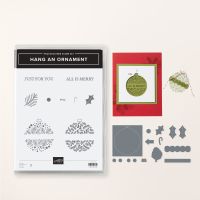
I have just had the Hang an Ornament bundle delivered - it's fabulous and there's so many possibilities with this set, but I decided on keeping it pretty simple for my cards today. Every year, I create a few simple Christmas Cards that I can easily batch make closer to the time. These little 3x3" are perfect to create - quick, simple and minimal supplies - and a lovely card to receive.
What do you think?
Measurements (Per Card)
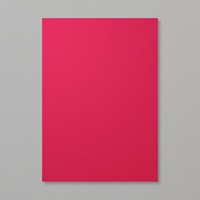
Real Red Card Stock
1pc - 6" x 3", scored at 3"
Basic White Card Stock
1pc - 2 3/4" x 2 3/4"
scrap
-----------------------------------
Take the Real Red Card stock and fold along the score line to create your 3x3" notecard. Add the Basic White piece to the inside to give you somewhere to write a message.
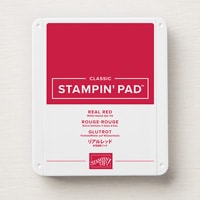
On the card front, add some of the Holly and branch images in Real Red ink - this just gives a little extra interest on the card front - most of the centre section will be covered, so make sure you reach out towards those edges.
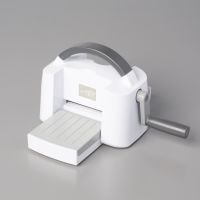
Bring in your Stampin' Cut & Emboss Machine and the Bauble die and run through your machine twice on two pieces of scrap. You will notice that the Bauble shape will stay attached to the rest of the card with a few tiny sections of uncut card ( this makes a fun interactive ornament element - which I will show you in a later project, but for now we are keeping things super simple).
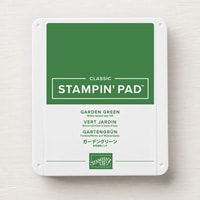
Cut or gently pull away the bauble then Stamp the foliage image into the centre using Garden Green ink - adding the sentiment with Real Red Ink.
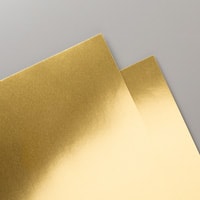
There's a small cap and hook die in the pack - so run these through your Stampin' Cut & Emboss machine using some gold foil.
Glue these you pieces to the bauble, then attach it all to the card frotn using dimensionals.
I hope you have enjoyed my project today - I had so much fun creating them. As I mentioned earlier - it's a great card to natch make and the key to being super productive with time when batch making is to do all the 'same' steps at the same time - Cut all the card stock at once, glue in all the white card mats, do all the die cutting, do all the same stamping together etc etc. I really does help you get lots made very efficiently.
Please do continue through the hop - we have so many talented contributors to this hop, you are sure to get lots of inspiration. Janice is up next, please do head over to visit her blog.
Roll Call
Simone Kleine - derdiedasKleine bastelt
Iris Philipps - iriStempelt
Liane Gorny - Jungle Cards
Tatjana Niederberger - gittisgiftcorner
Melanie Fischer - MeeFischs Bastelecke
Karina Ruppert - Stempelpapillon
Heather Forgan - Stamp With Nellie
Angela Köber - Stempelfamilie
Vickie Littlewood - Vickie Lou Designs
Janice Thomson - JazzleDazzleCraft
Here's a list of supplies I used in today's project, click on the images to head over to my online store
Product List
If you are on Facebook, why not pop over and check out our community group Craft & Banter. If you have a passion for paper craft, are brilliant at baking or a super talented seamstress then we would love to see you there. We share all types of crafting, run challenges and giveaways & generally have a right good natter.
See you soon
Vickie
Xxx

.png)





.png)
.png)
I love this format and your cards are so elegant!
ReplyDeleteThanks for showing and joining!
Greetings from Germany Simone
I love this small format!
ReplyDeleteGreat cards, so elegant.
Thanks for showing and joining!
Greetings from Germany, Simone
Wunderschön, vielen Dank für die Inspiration
ReplyDeleteabsolutely stunning, great color combination!
ReplyDelete